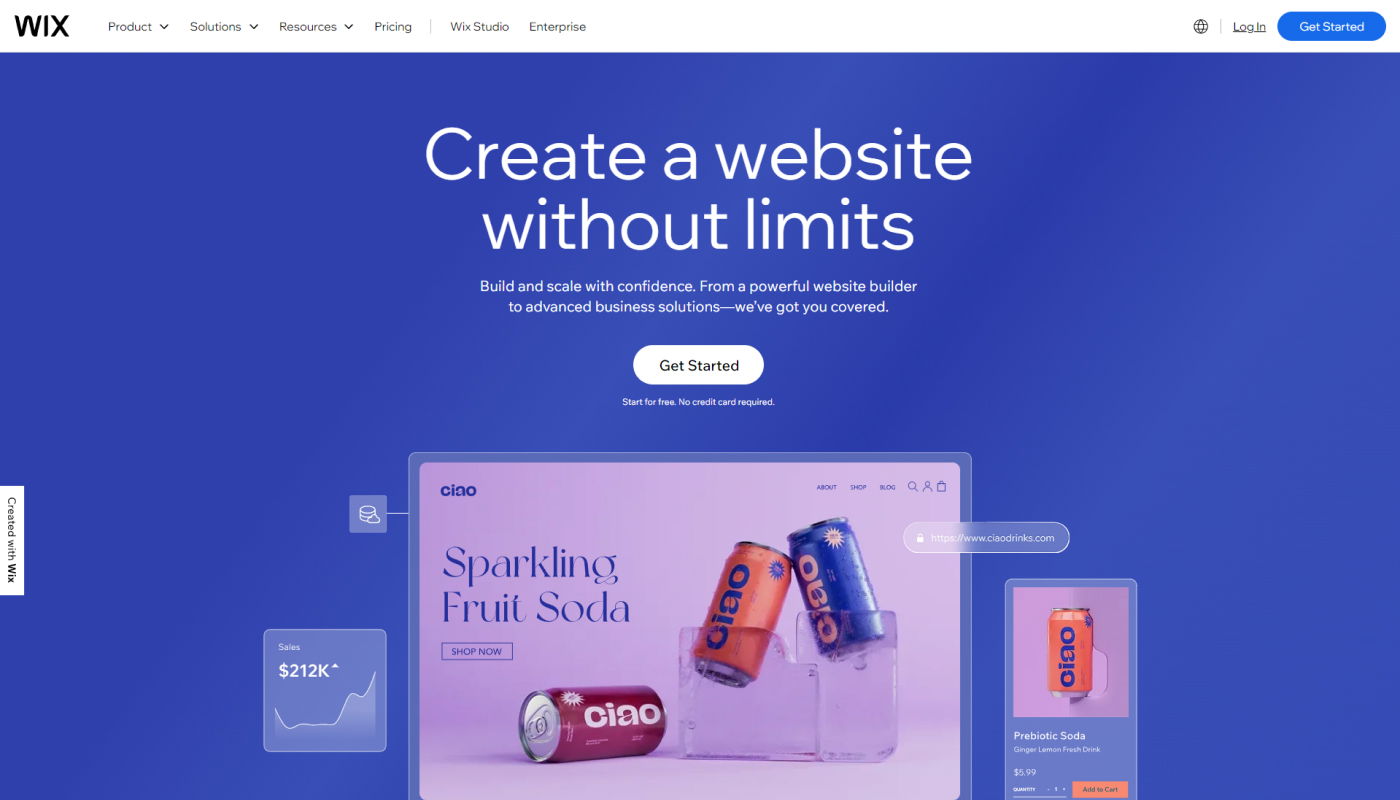
Wix has emerged as a top choice for entrepreneurs and bloggers looking to create stunning websites easily. Its popularity stems from its user-friendly interface, versatile themes, and extensive app library.
Wix apart is its flexibility. Whether you’re building a personal blog or launching an eCommerce empire, Wix has you covered. In this article, we’ll focus on creating an eCommerce website using Wix. We’ll also explore how you can integrate dropshipping, allowing you to start a profitable online business with minimal upfront investment.
If you’ve been researching website builders, chances are you’ve encountered Wix. With millions of users worldwide, Wix is renowned for its user-friendly approach. Even if you’re new to website development, Wix’s free basic version makes it easy to get started.
However, mastering Wix’s full potential can be overwhelming for beginners. That’s where this tutorial comes in. Designed with novices in mind, this guide will not only walk you through the process of using Wix but also empower you with the fundamental skills needed to leverage this powerful platform.
Whether you’re a budding blogger, an aspiring online retailer, or a seasoned professional, this tutorial will help you unlock the true potential of Wix
Wix Builder
Wix Builder Ultimate Guide Step-by-Step in 2026( Table of Contents )
Your Step-by-Step Wix Tutorial: 7 Easy Steps
- Step 1: Start your journey with Wix
- Step 2: Crafting a website using Wix
- Step 3: Modifying with Wix Editor
- Step 4: Incorporating features into your website
- Step 5: Enhancing your website
- Step 6: Linking domain name and enhancing
- Step 7: Familiarizing yourself with the Wix dashboard
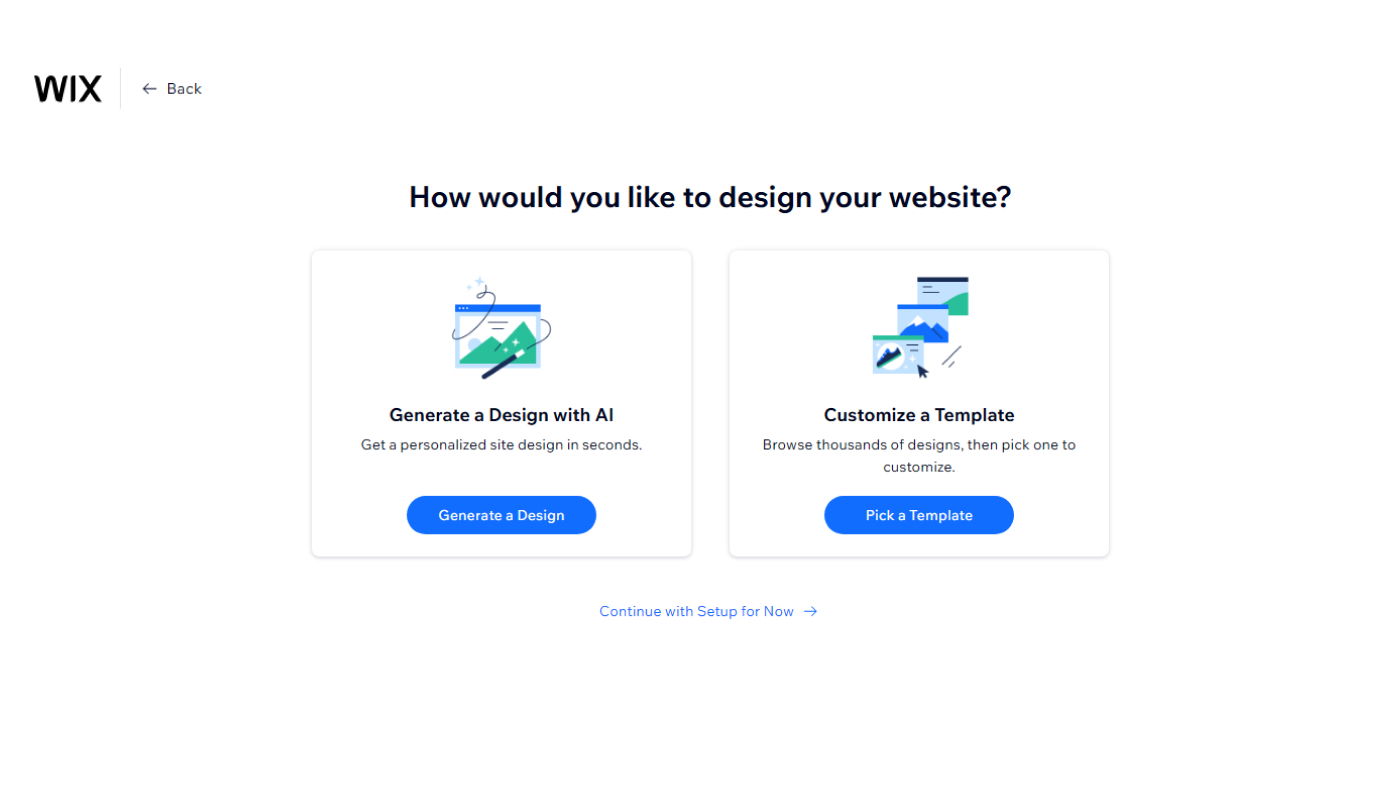
1. Step 1: Start your journey with Wix
You’ll need to set up your Wix account before you can start creating.
Wix Sign Up:
Wix Templates choosing
Enter your email and password. You’ll be prepared for the next stage in a minute or two.
Wix Setup Questions:
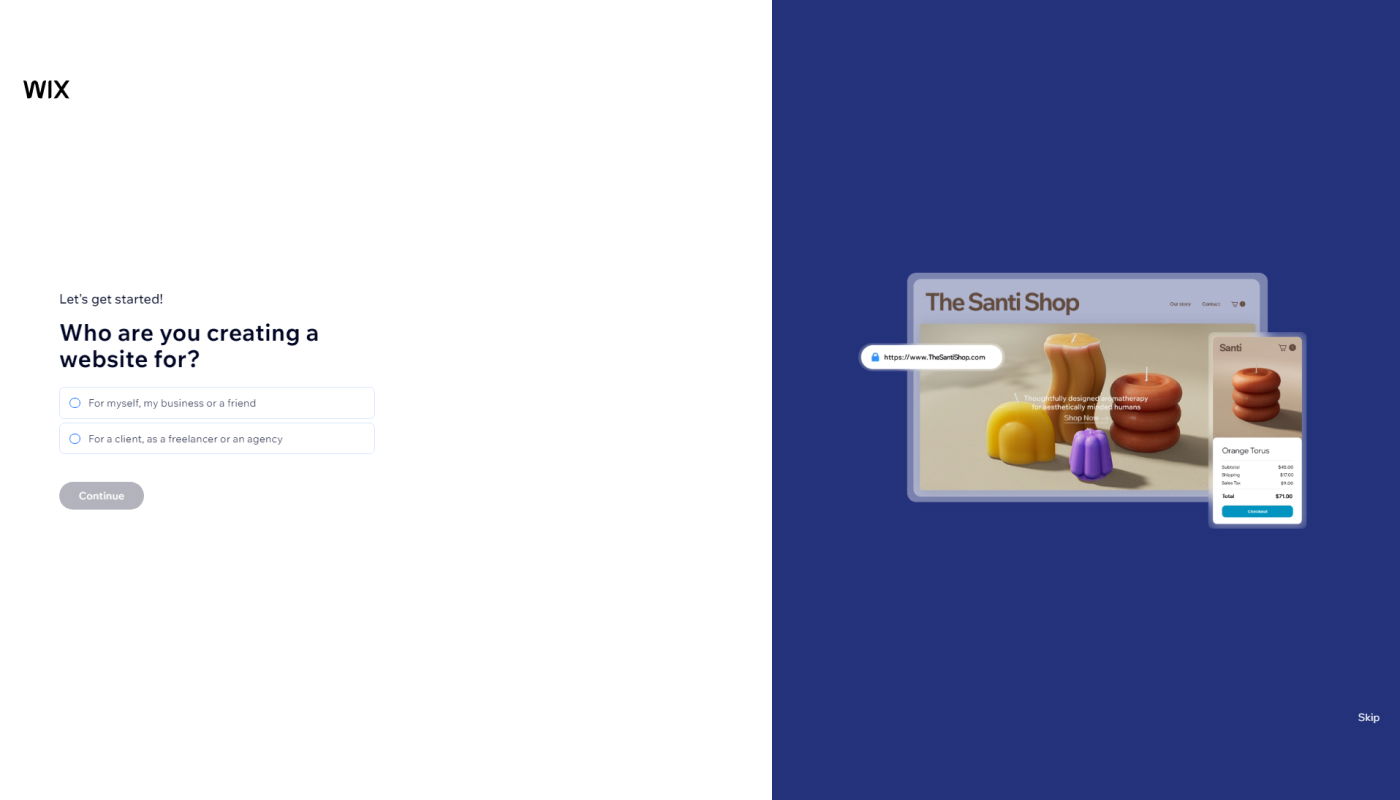
Wix Setup
Wix will ask you a few questions to understand your website vision. Answer these to get personalized recommendations.
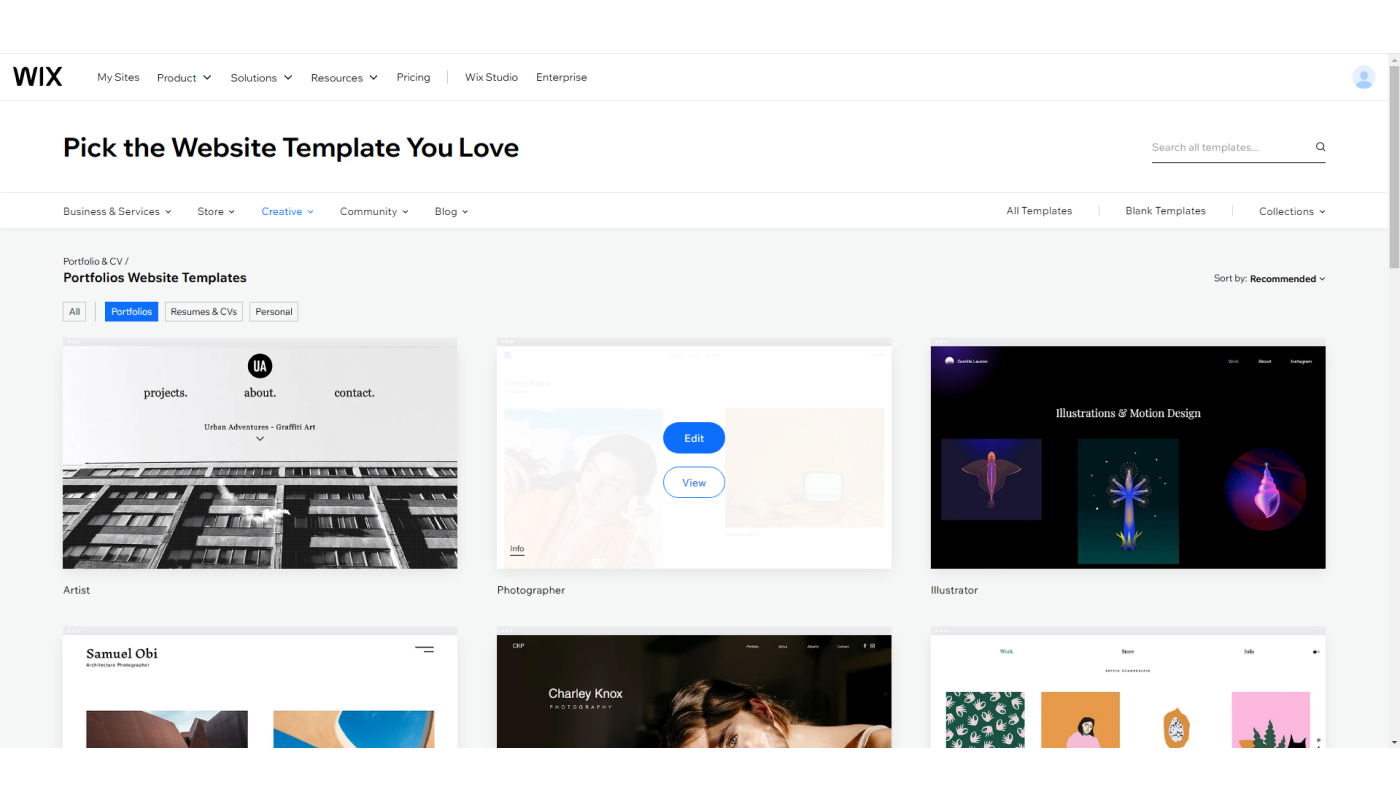
Wix Templates:
Wix Templates choosing
Think of choosing a template like window shopping! Based on your answers, Wix will present a selection of templates designed for your needs.
Feel free to browse and preview any theme that catches your eye. For a closer look, there’s a tiny “info” link in the thumbnail’s bottom left corner.
Once you find the perfect template, click “edit” and start customizing!
2. Step 2: Crafting a website using Wix
Setting up your theme is a breeze, typically taking just 2-3 minutes to complete. The beauty of this process is that you don’t need to stress over your initial choice, as you can always start over and select a different theme later on.
Wix Templates editor
Once you’ve clicked the “Edit” button, Wix will load its renowned editor, giving you the power to start building your website from scratch.
If you’re feeling a bit hesitant about diving into the editor right away, Wix offers a helpful tutorial video to guide you through the initial steps.
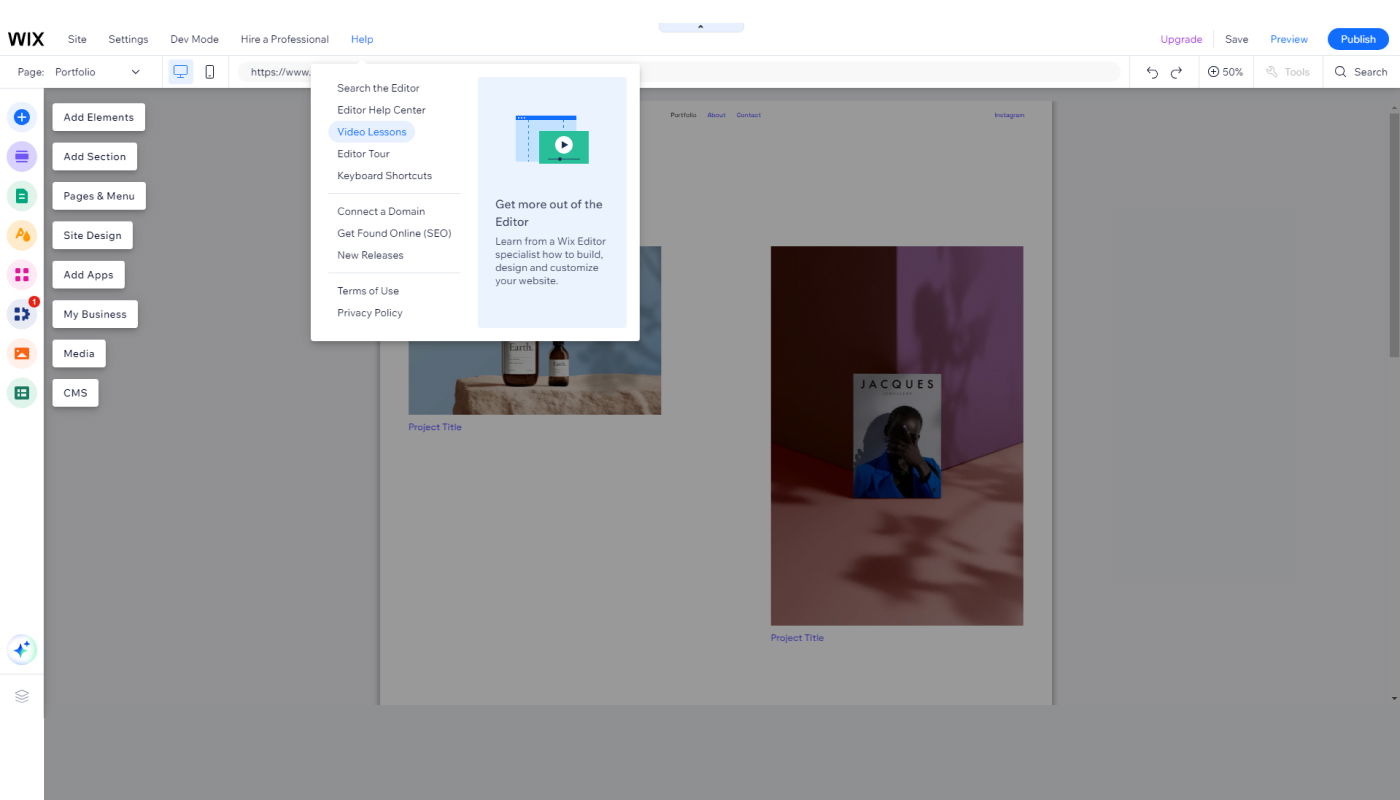
video lesson
This video can be a great resource for those who prefer a more structured approach to learning.
From a technical standpoint, your website has already been created, but at this stage, it only contains demo content.
This means that while the framework of your site is in place, it lacks the personal touch that will make it uniquely yours.
To truly make your website your own, you’ll need to start customizing it using the Wix editor.
3. Step 3: Modifying with Wix Editor
Wix’s interface is designed to be intuitive and straightforward. To edit content, simply click on the element you want to modify.
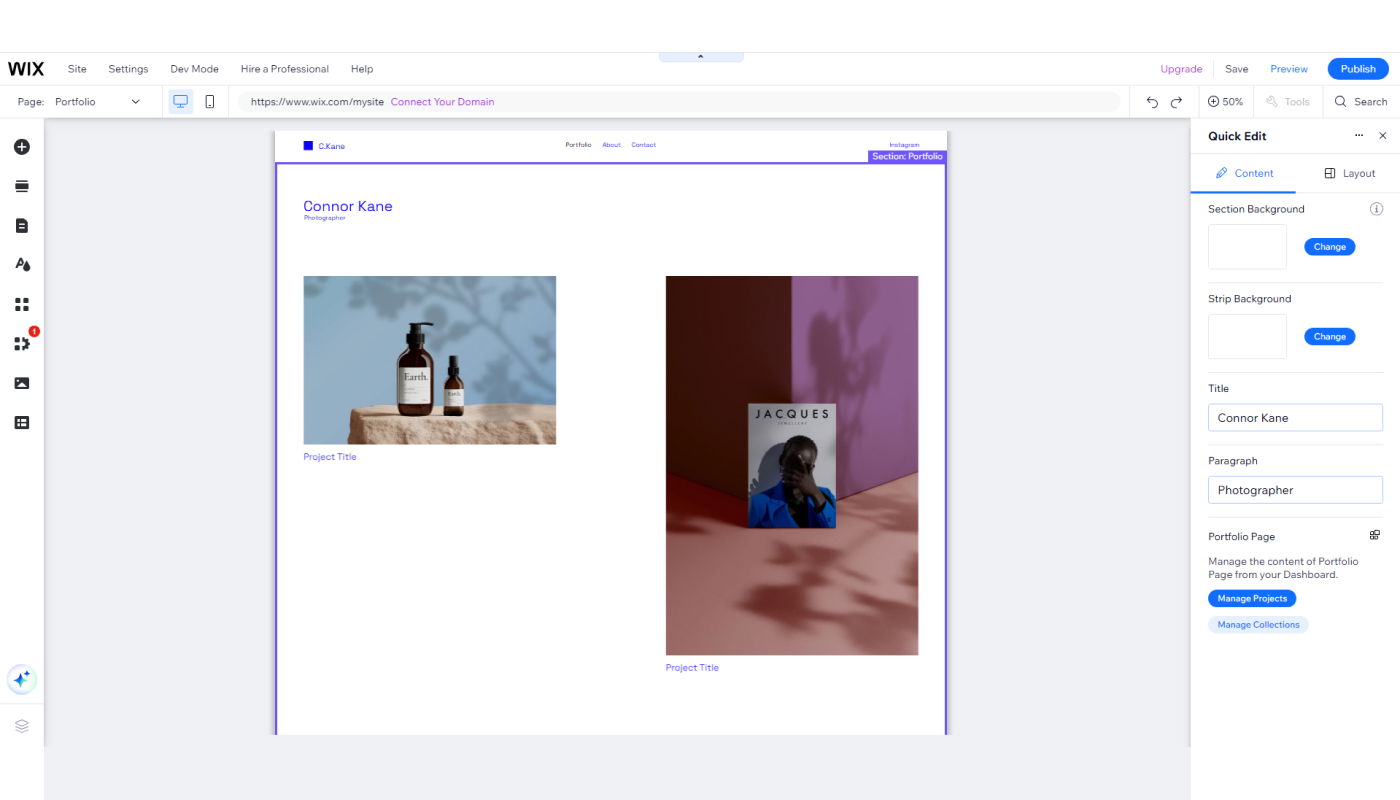
Wix modifier
A small menu will appear above the selected element, displaying the most relevant settings.
For instance, selecting a background allows you to change images, effects, and positions. Text elements offer options to modify font types, sizes, and heading styles.
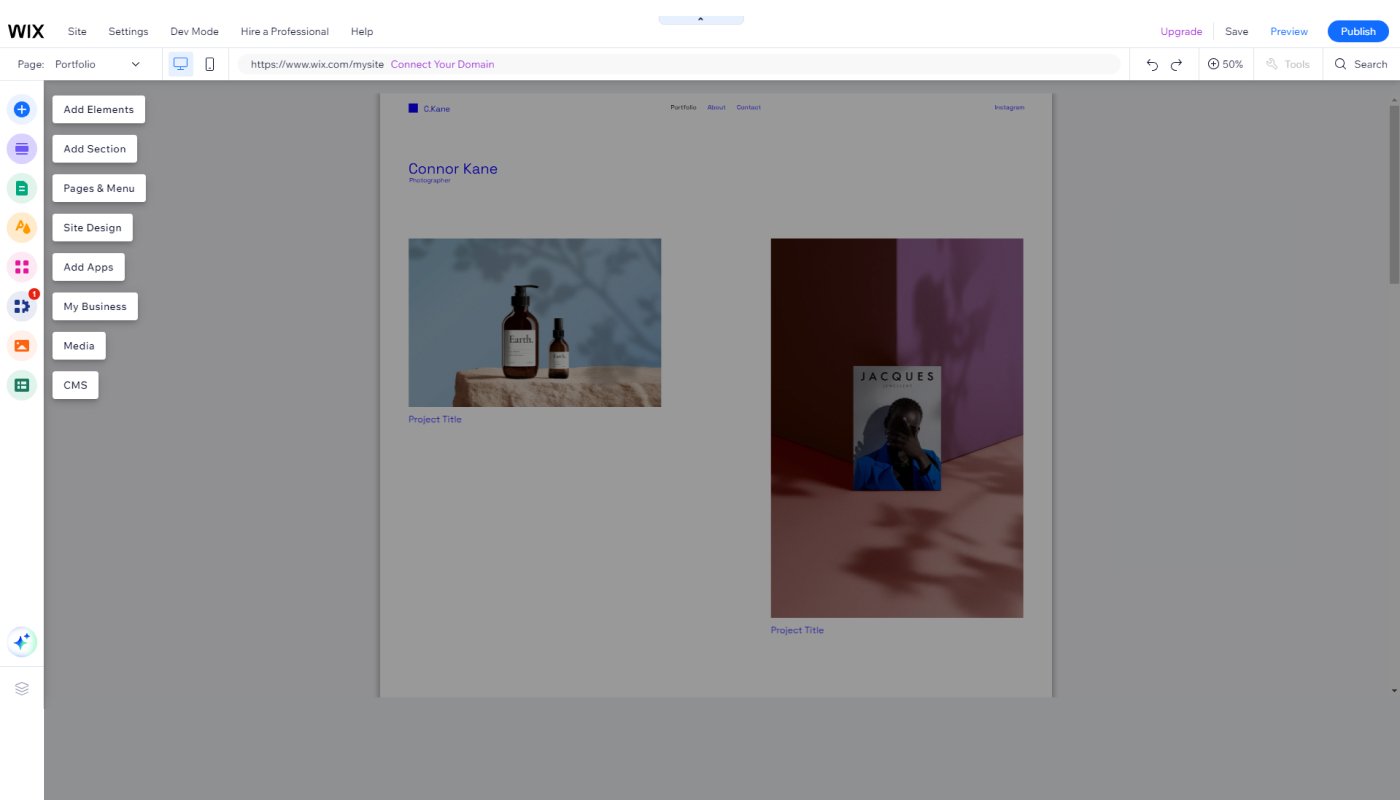
Wix Menu
The left-hand side menu provides quick access to essential functions such as menus, pages, backgrounds, elements, apps, media, and blogs. This menu remains visible at all times while you’re in the editor.
Another essential feature of the editor is the small toolbar on the right-hand side of the screen.
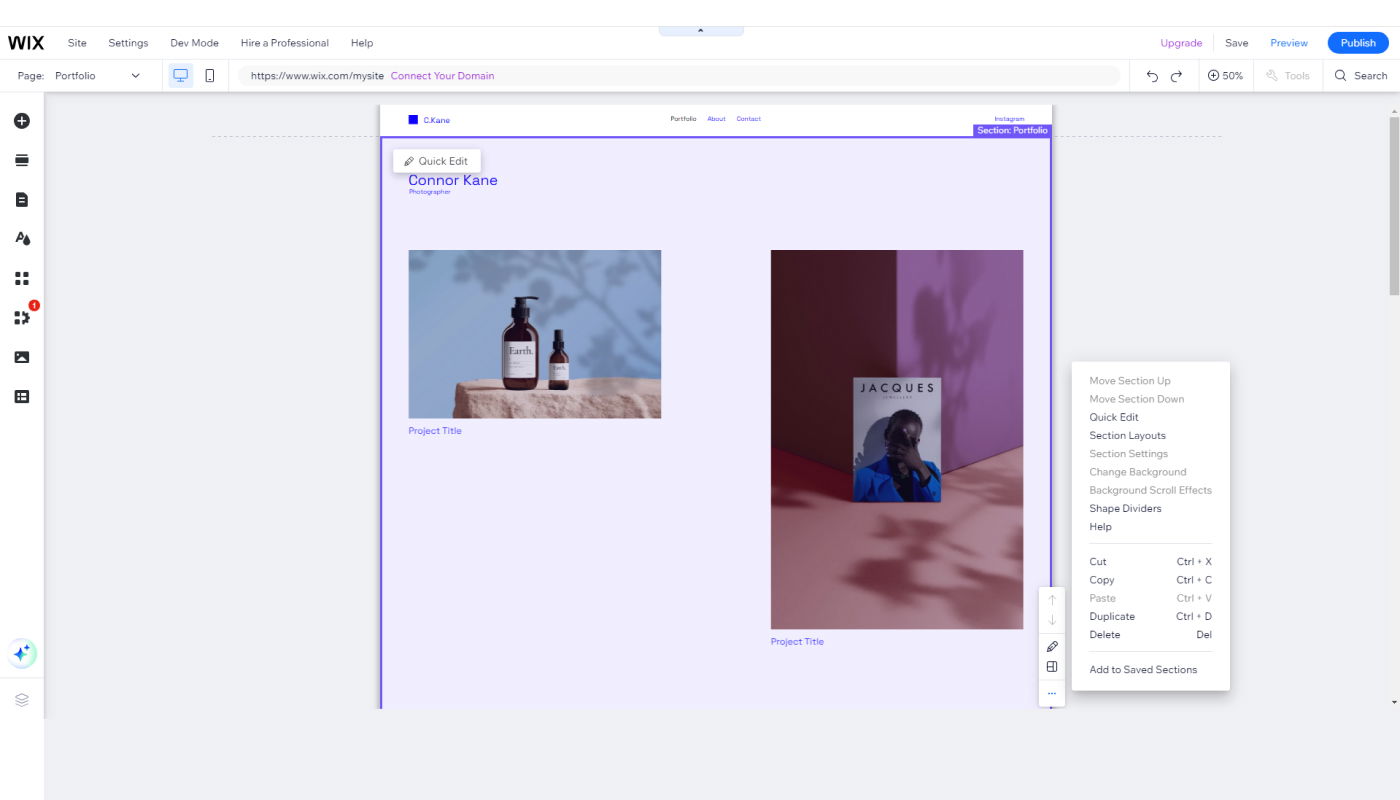
Wix right-hand side editor
This toolbar contains commands for copying, pasting, duplicating, deleting, arranging, and performing other actions on selected elements.
While it may not seem crucial initially, it can significantly save you time as you become more proficient with the editor.
4. Step 4: Incorporating features into your website
Selecting a template sets the stage, but customizing it with additional functionalities truly personalizes your site.
This process allows you to bring your envisioned design to life and add unique elements that reflect your style or brand.
Adding new elements, such as text blocks, images, videos, forms, and more, is simple through the main menu.
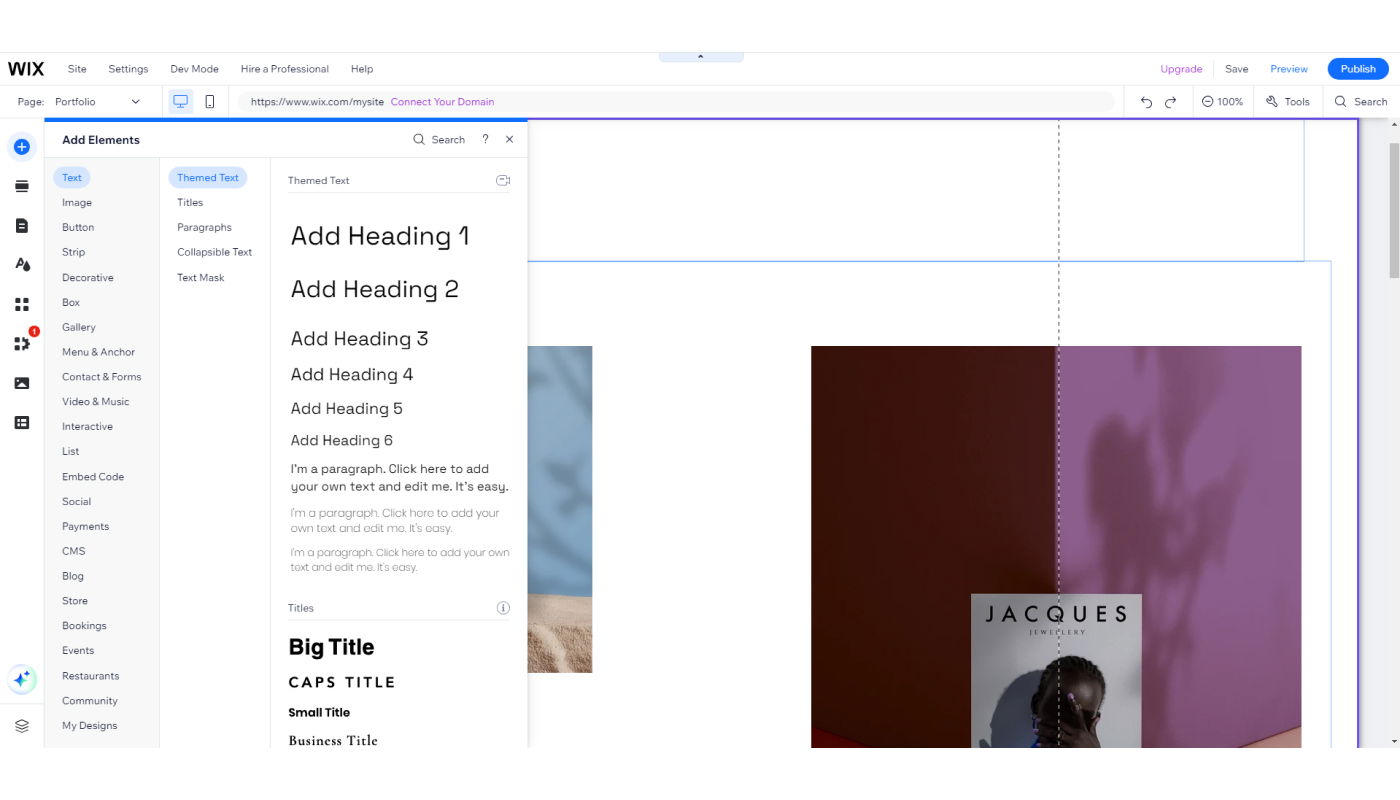
Wix Element
Just click on the third plus icon, choose an item, select a layout option, and add it to your website. You can then move the element around the page and make further changes by clicking on it.
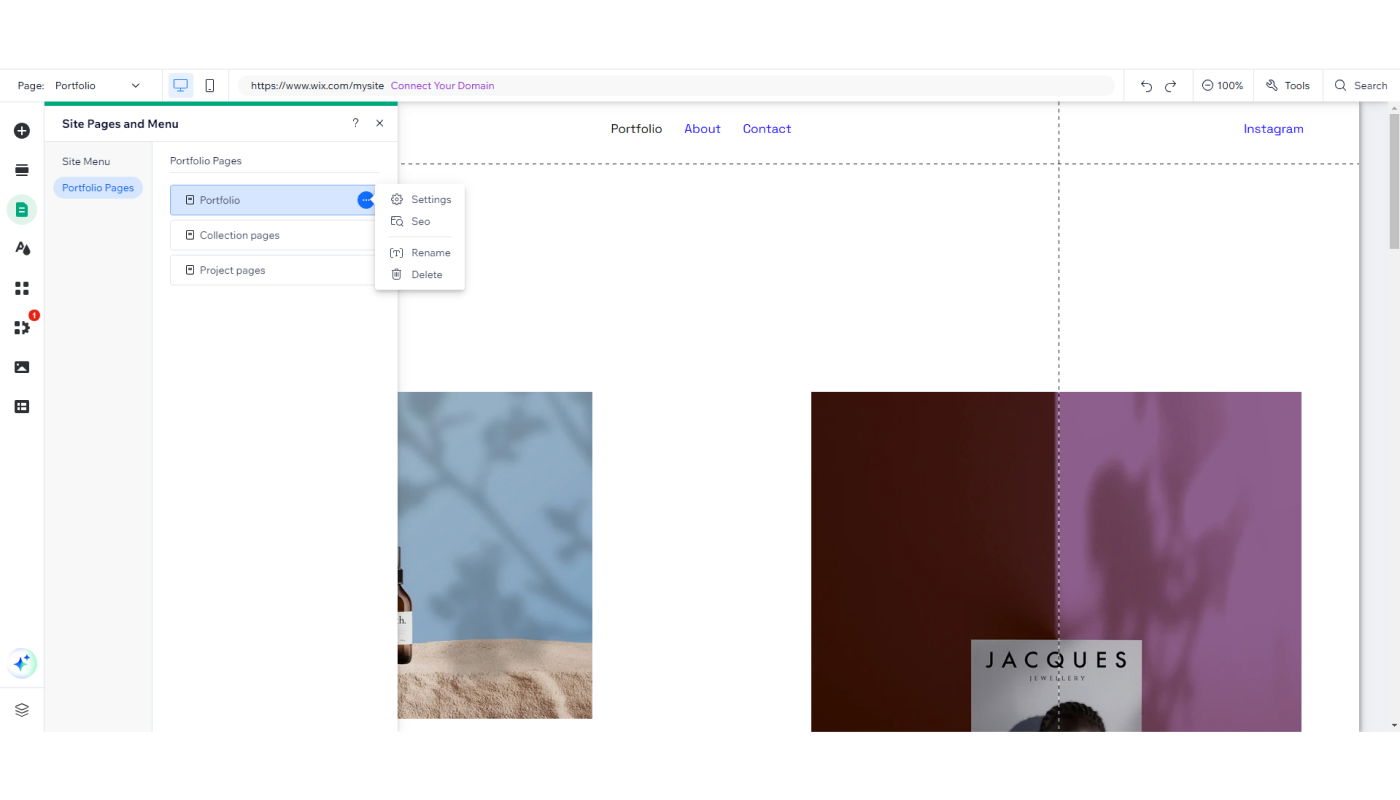
Managing menus and pages is crucial for organizing your site. Adding new pages is easy: click on the first icon in the left-hand side menu, select “+Add Page,” and name your page.
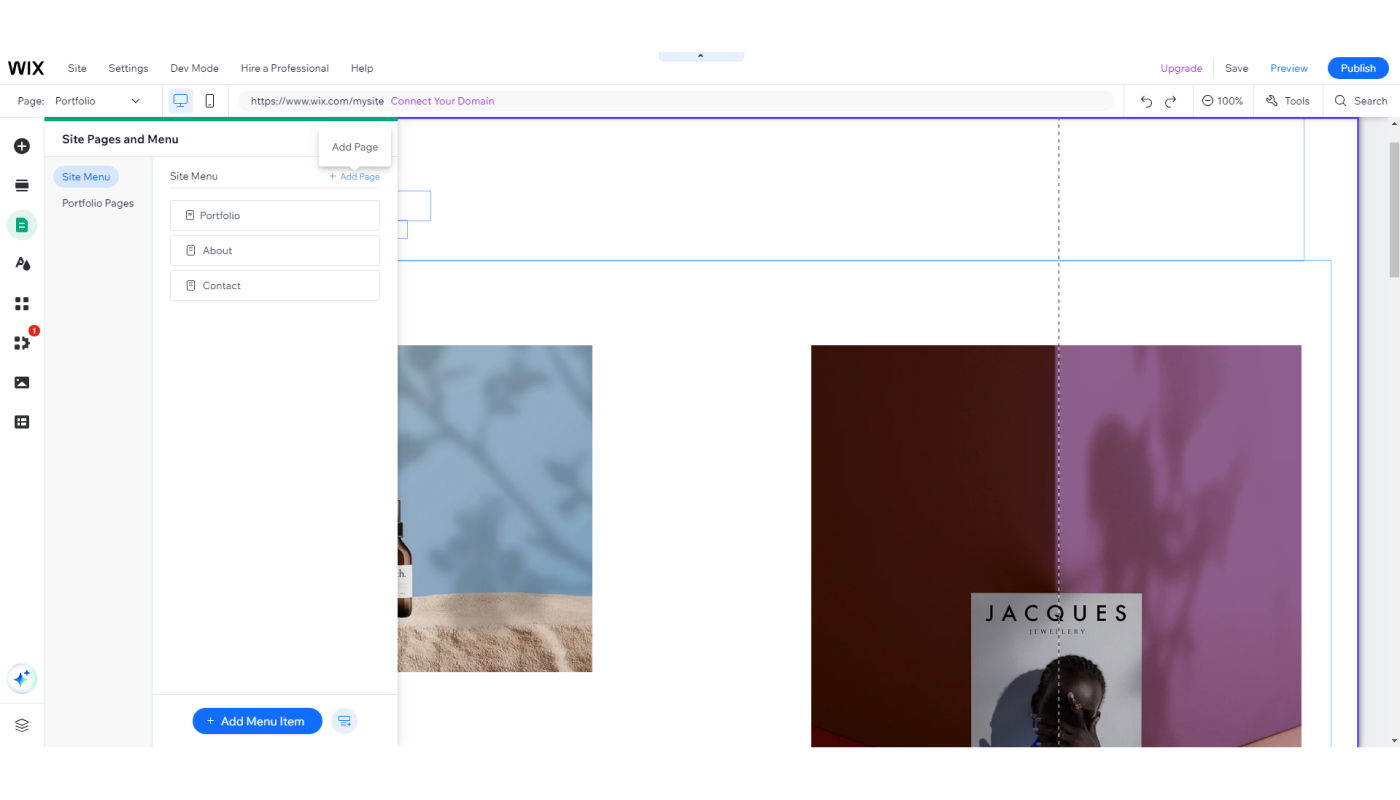
Wix page adder
Wix automatically organizes these pages in your main menu, allowing you to easily rearrange, show, hide, or rename them as needed.
Wix Page Customize
For those looking to incorporate a blog into their website, Wix makes it simple.
Most Wix themes automatically include a blog section. To create your first blog post, find the pen icon in the left-hand side menu, click on it to open settings, and select a button to create a post. You can then add a title, main content, images, galleries, videos, and more.
Wix CMS Editor
Wix offers a range of apps to enhance your website’s functionality. You can access the Wix App Market by clicking on the Apps item in the main menu, which features over 250 apps to extend your site’s capabilities.

Wix App Installer
Whether you need new elements, media, content, or e-commerce features, the App Market likely has what you’re looking for. Simply browse, find the app you need, and click “Add” to install it on your site.
5. Step 5: Enhancing your website
Choosing a template is a great start, but to truly make your website unique, you’ll want to add additional functionalities. This allows you to bring your vision to life and create something that truly reflects your style and brand.
To add new elements, such as text blocks, images, videos, or forms, simply navigate to the main menu and click on the third plus icon. Choose the item you want to add, select a layout option, and it will become part of your website. You can then move it around the page until you’re satisfied with its placement.
Don’t be afraid to experiment! If you don’t like how something looks, you can easily remove it by clicking on the trash can icon in the toolbar. This toolbar will become your best friend as you navigate through the editing process, offering quick access to essential functions.
As you build your website, you’ll likely want to add additional pages. This is easily done by clicking on the first icon in the left-hand side menu and selecting the “+Add Page” button. Write the name of your new page, and it will be added to your site’s navigation menu automatically.
Adding a blog to your website is also a breeze with Wix. Simply find the pen icon in the left-hand side menu, click on it, and select the option to create a new post. This opens a dashboard dedicated to blogging, where you can add a title, write your content, and add images or other elements. You can also customize the post’s URL, title, description, and more to improve its visibility on search engines.
If you find that Wix doesn’t offer a specific feature or functionality you need, don’t worry. The Wix App Market has over 250 apps that can extend your site’s capabilities. Simply click on the Apps item in the main menu to browse and search for the app you need, then click “Add” to install it on your site.
6. Step 6: Linking domain name and enhancing
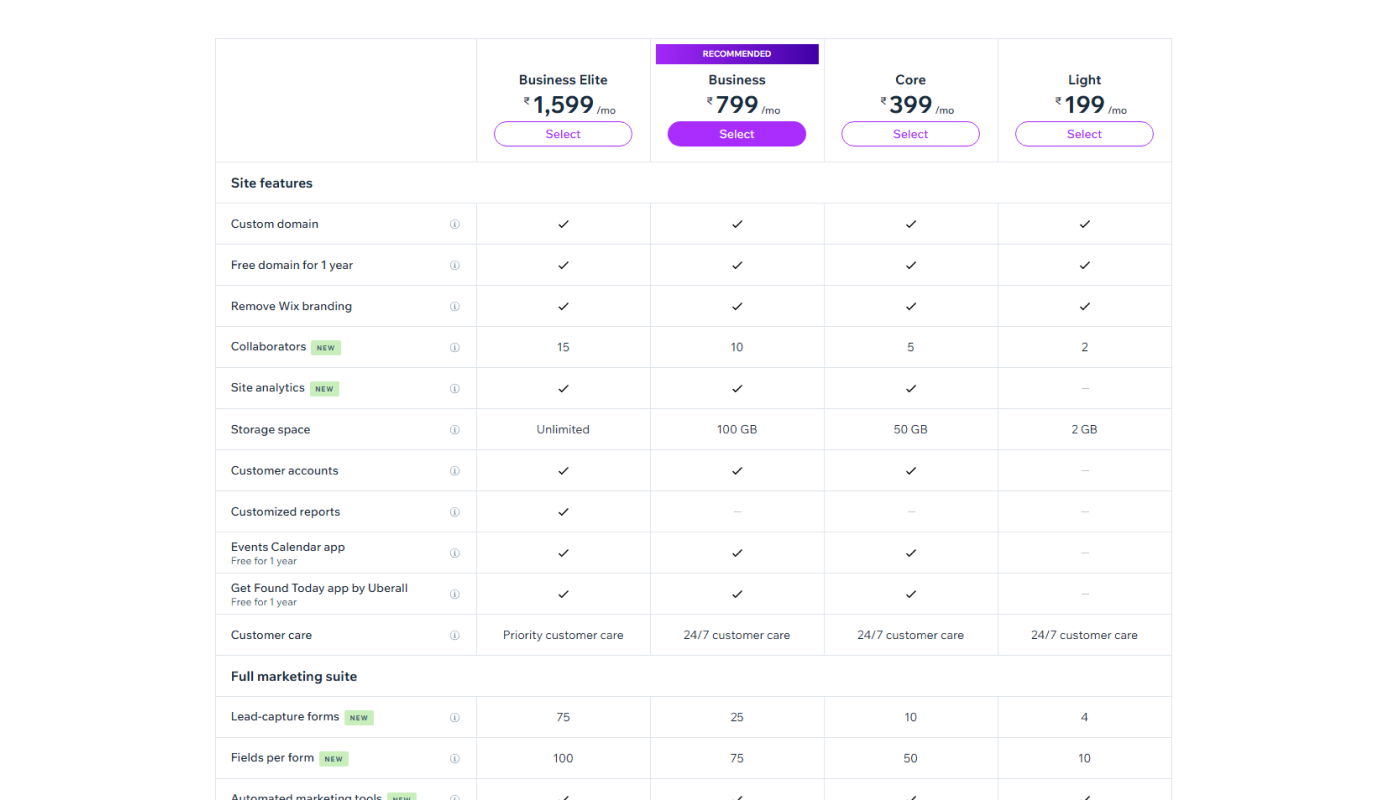
Wix offers a free plan to dip your toes into website creation. Here’s a breakdown of what it offers and when you might consider upgrading for more:
Free Subdomain: Your Testing Ground
The free plan provides a subdomain, like [invalid URL removed]. It’s a fantastic way to experiment with Wix’s features, build your website’s foundation, and see if website creation is for you, all without any upfront costs.
Limitations of the Free Plan:
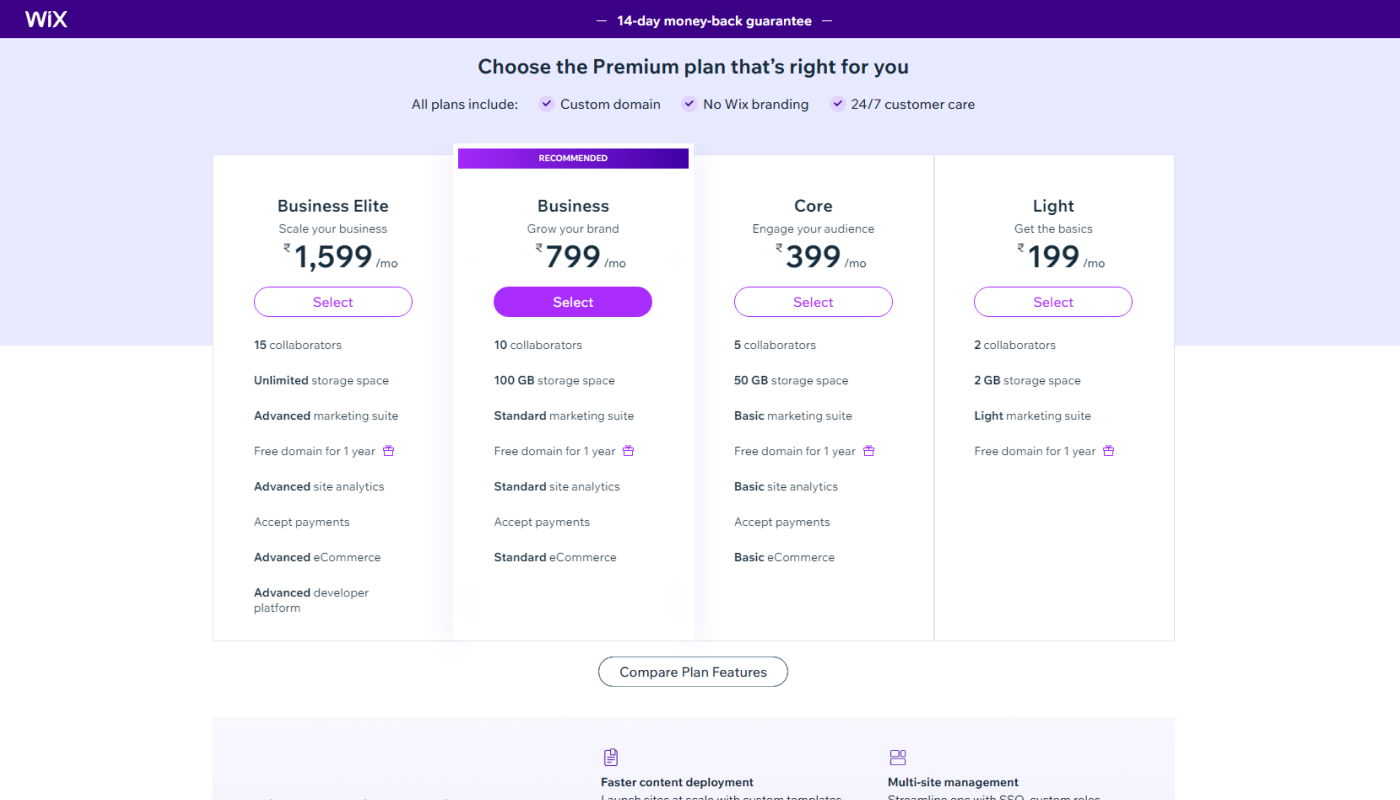
Wix pricing plan
While the free plan is a great starting point, there are some limitations to keep in mind:
- Limited Customization: Free plan templates have Wix branding elements that can’t be removed.
- Storage and Bandwidth: The free plan comes with limited storage space for your website’s content and data transfer (bandwidth). This might become an issue if you plan on having a lot of images or videos.
- No Custom Domain: Your website address will be a subdomain, which can appear less professional compared to a custom domain like [invalid URL removed]
Upgrading for a Custom Domain and More:
Wix pricing plan
As your website evolves and becomes more important to your business or personal brand, you might want to consider upgrading to a paid Wix plan. Here’s what upgrading unlocks:
- Own Your Web Address: Connect a custom domain name to your website for a more professional and memorable online presence.
- Ditch Wix Ads: Free plans display Wix ads on your website. Upgrading removes these ads, giving you complete control over your website’s look and feel.
- Increased Storage and Bandwidth: Paid plans offer more storage space and bandwidth to accommodate a growing website with more content and visitors.
- Premium Features: Depending on the plan you choose, you’ll gain access to premium features like advanced analytics, online booking capabilities, and SEO tools to help your website rank higher in search results.
Upgrading Your Plan: A Smooth Process
Upgrading your Wix plan is a straightforward process:
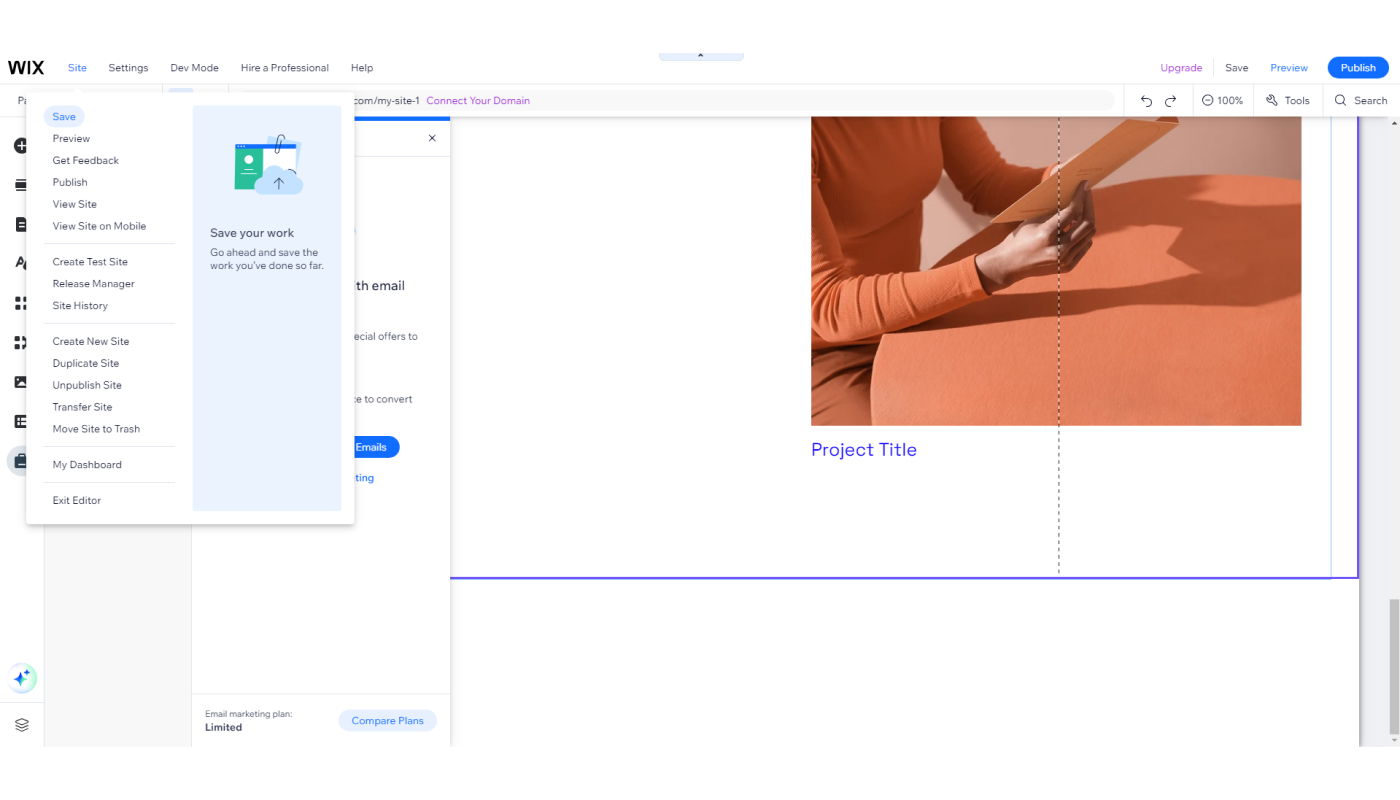
- While working on your website in the editor, click on Upgrade in the top menu.
- Select Compare Plans to see the different options available.
- Choose a plan that best suits your website’s needs and budget. Wix offers a variety of plans, from basic to business and e-commerce-focused.
- Click Select on your chosen plan and pick your payment term (monthly, yearly, or bi-yearly).
- Enter your personal information and payment details.
- Click Submit Purchase to complete the upgrade.
With a custom domain and the features offered by a paid plan, you can unlock Wix’s full potential and create a website that truly reflects your brand and vision. Whether you’re a small business owner, an artist showcasing your portfolio, or simply someone passionate about a cause, Wix offers a path to build a website that stands out from the crowd.
7. Step 7: Familiarizing yourself with the Wix dashboard
The Wix dashboard is your central hub for managing all your websites. It’s where admins spend most of their time, keeping things organized and making magic happen. Here’s a breakdown of what you can expect:
Your First Website in Focus:
Upon opening the dashboard, you’ll see your primary website front and center. This includes its name, URL, a glimpse of the enabled features, and your current Wix plan.
Site Actions at Your Fingertips:
The most crucial button resides at the top of the page. Clicking it reveals a menu bursting with site actions:
Wix Site Settings
- Edit: Dive right in and customize your website.
- Preview: See how your masterpiece looks before publishing.
- Rename: Give your website a name that reflects its purpose.
- Duplicate: Create a copy of your website as a starting point for another project.
- Transfer: Share ownership of your website with collaborators.
- Trash: If necessary, send your website to the digital bin (don’t worry, it’s recoverable!).
- New Website: Feeling inspired? Start a brand new website from scratch!
Wix Guides Your Way:
Scrolling down, you’ll find a progress bar with helpful steps from Wix, guiding you through the website setup process. Additionally, Wix will remind you to connect a custom domain if you haven’t already.
Essential Settings Menu:
Look to the left-hand side of the dashboard, and you’ll discover a treasure trove of website settings:
Wix SEO Site Management
- Blog: Manage your blog posts and comments.
- Business Tools: Access features for appointments, bookings, and customer management.
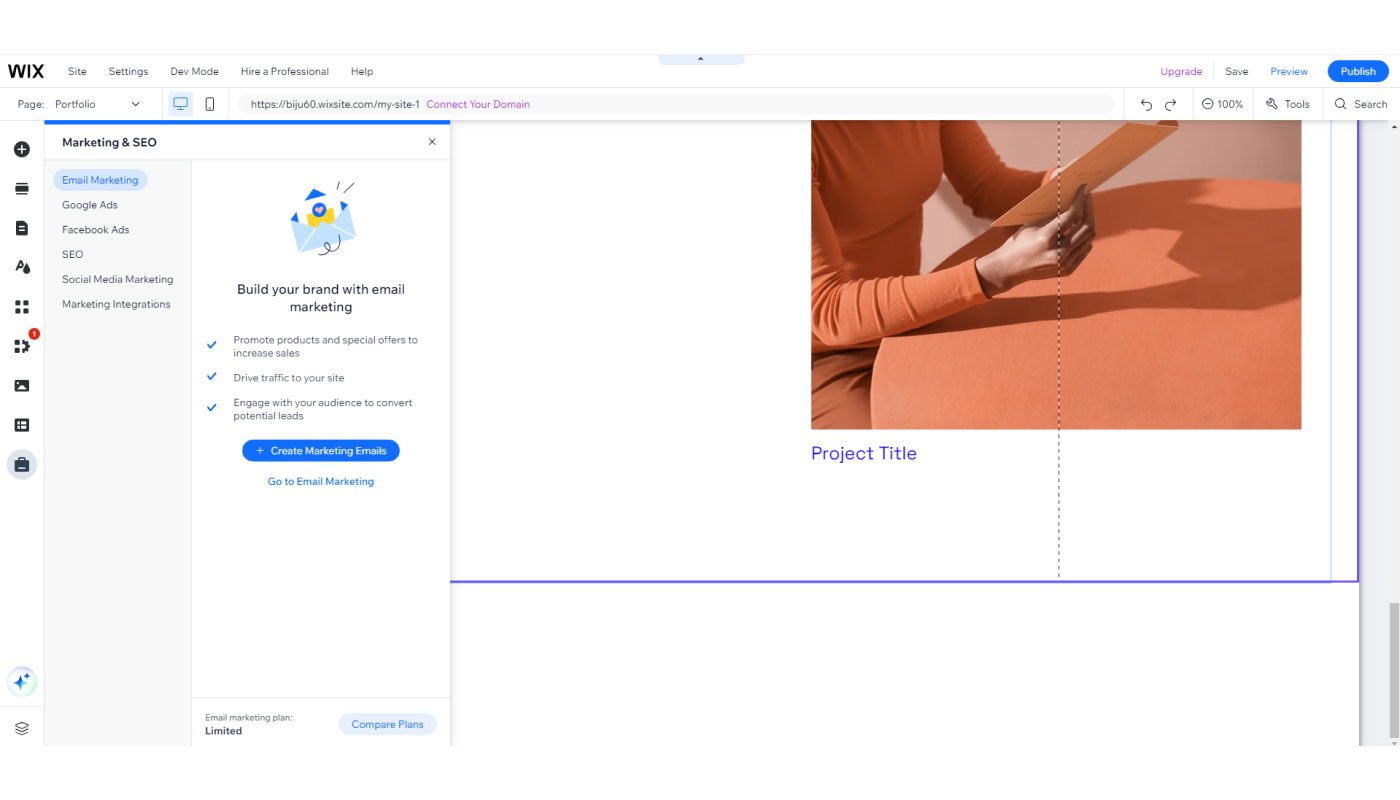
- Marketing & SEO: Optimize your website for search engines and drive traffic.
- Analytics & Reports: Track your website’s performance and gain valuable insights.
- Finances: Monitor your website’s financial health (e.g., connected store revenue).
- Main Settings: Manage overall website settings, apps, and content.
Account Settings:
For changes related to your Wix account, head to the top right corner. Click on your image or email address to access these settings.
Conclusion
The Wix Builder Ultimate guide provides a comprehensive and detailed overview of how to create stunning websites using Wix in 2026.
With step-by-step instructions and helpful tips, users can navigate the platform with ease and confidence.
From designing layouts to integrating advanced features, this guide equips users with the knowledge and tools to build professional websites that stand out in today’s digital landscape.
By following this ultimate guide, individuals and businesses alike can harness the full potential of Wix to showcase their brand or portfolio effectively.
Take the first step towards creating a visually captivating website by implementing the strategies outlined in this guide today.
Frequently Asked Questions
1. How to get started with creating a professional website using Wix in 2026?
To create a professional website using wix in 2026, you can begin by accessing your wix account and selecting a suitable template from the wix editor. Follow the step-by-step guide to customize the website according to your requirements and preferences.
2. What are the key features of the Wix app market for building websites?
The wix app market offers a wide range of wix apps that can enhance the functionality and design of your website. You can explore various apps for ecommerce, SEO optimization, analytics, and more to elevate your website’s performance.
3. How can I optimize my Wix site for better search engine rankings in 2026?
To improve the SEO of your wix site in 2026, focus on optimizing your content, meta tags, and images with relevant keywords. Utilize Wix’s built-in SEO tools and regularly monitor your site’s performance through analytics to track progress.
4. What steps are involved in creating an ecommerce website on Wix?
To create an ecommerce website on wix, start by selecting an ecommerce template and customizing it using the wix editor. Add products, set up payment methods, and optimize your store for better visibility and conversions.
5. How can I customize my Wix site’s domain name?
You can easily set up a custom domain name for your wix site by accessing the domain settings in your wix dashboard. Follow the step-by-step instructions to connect your domain to your wix site seamlessly.


