Framer has emerged as a powerful tool for designers, offering a wide range of features to create interactive and captivating prototypes and designs. Mastering Framer is more important than ever to create cutting-edge digital experiences in 2026.
This Ultimate Guide covers everything you need to know to create professional designs with Framer. Whether you’re new to interactive design or an experienced designer looking to enhance your skills, this guide is your complete resource to unlock the full potential of Framer’s design platform.
In the constantly evolving field of digital design, where user experience is paramount, having a toolbox that keeps up with the times is essential. Framer is a revolutionary platform that allows designers to create not just static screens, but truly interactive and engaging prototypes.
The ability to design cutting-edge digital experiences is no longer just a nice-to-have, it’s a must-have. This Ultimate Guide is your key to unlocking the full potential of Framer, regardless of your level of experience.
Whether you’re a new designer eager to explore the world of interaction, or a seasoned pro looking to take your skills to the next level, this comprehensive resource provides you with everything you need to create professional designs in Framer for the year ahead.
Framer Builder Ultimate Guide in 2026 (Table of Contents)
- Introduction to Framer
- Getting Started with Framer
- Choosing the Right Plan
- Understanding the Framer Interface
- Creating Your First Prototype
- Adding Interactivity with Framer Motion
- Optimizing for Performance
- Collaborating with Team Members
- Publishing Your Prototype
- Managing Your Projects
- Getting Support
- FAQs
1. Introduction to Framer
Framer goes beyond static mockups, empowering designers to craft prototypes that come alive. Let’s delve into its core functionalities:
- Interactive Prototyping: Breathe life into your designs! Framer lets you create prototypes with intricate interactions, animations, and transitions. This provides a realistic experience, mimicking how your design will function in the final product.
- Component-Based Design: Efficiency is key. Framer’s component-based system allows you to build reusable design elements. This ensures consistency across your projects and saves you valuable time.
- Real-Time Collaboration: Teamwork makes the dream work! Framer fosters seamless collaboration, enabling multiple designers to work on the same project simultaneously. Imagine the possibilities!
2. Getting Started with Framer
Excited to dive into the world of Framer? Here’s a roadmap to get you up and running in no time:
-
Sign Up for an Account: Head over to the Framer website and create your account. Framer offers both a free plan, perfect for exploring the platform, and paid plans with additional features to suit your needs.
-
Explore the Interface: Once you’re signed in, take some time to familiarize yourself with the Framer interface. There are dedicated panels for managing your projects, layers, assets, and code (if you choose to use it). You’ll also find a handy toolbar with essential design tools.
-
Learn the Basics: Framer Academy, a treasure trove of resources, is your best friend here. They offer a variety of tutorials and courses, from fundamental concepts like adding text and shapes to creating interactive elements.
-
Experiment with Templates (Optional): Feeling a little lost for inspiration? Framer provides a library of pre-built templates for various design projects. These can be a great starting point, allowing you to customize them to fit your specific needs.
-
Join the Community: The Framer community is vibrant and supportive. Dive into online forums and discussions to connect with other designers, ask questions, and share your creations.
3. Understanding the Framer Interface
Framer’s interface is designed to be intuitive and user-friendly. Here’s an overview of the main components of the interface:
Canvas: The canvas is where you design your prototype. You can add elements, such as shapes, text, and images, to the canvas and arrange them as needed.
Layers Panel: The layers panel displays a hierarchical view of all the elements on your canvas. You can use the layers panel to select and organize elements in your design.
Properties Panel: The properties panel allows you to view and edit the properties of selected elements, such as their size, position, and styling.
4. Creating Your First Prototype
Now that you’re comfortable with the Framer interface, let’s get your hands dirty and create your first prototype! Here’s a step-by-step guide:
-
Populate Your Canvas: Unleash your creativity! Use the toolbar stocked with design tools to add various elements to your canvas. Shapes, text boxes, images – the possibilities are endless. Drag and drop these elements to build the foundation of your prototype.
-
Craft Interactions: Where the Magic Happens: This is where Framer truly shines! The interactions panel allows you to breathe life into your static design. Define interactions between elements to create a dynamic user experience. Imagine a button that smoothly animates to a new screen when clicked, or a form field that validates user input as they type. The options are vast, and limited only by your imagination.
-
Refine and Preview: Testing is Key! With your prototype taking shape, it’s time to refine it. Use the preview mode to test your creation. Click through the interactions, observe animations, and ensure everything flows seamlessly. This testing phase allows you to identify any areas for improvement before finalizing your design.
Remember, this is just the first step in your Framer journey. As you gain experience, you’ll delve deeper into more advanced features like component-based design, and real-time collaboration, and potentially even explore incorporating code for even more intricate functionalities.
Get started, experiment, and unleash the power of Framer to create stunning and interactive design experiences!
5. Adding Interactivity with Framer Motion
We’ve explored the core functionalities of Framer, but what if you want to take your prototypes to the next level? Enter Framer Motion, a powerful animation library that unlocks a whole new world of possibilities.
Unleashing the Power of Framer Motion:
-
Installation: If you haven’t already, it’s time to add Framer Motion to your design arsenal. The installation process is straightforward and readily available documentation will guide you through it.
-
Embrace Motion Components: Framer Motion equips you with a special set of building blocks called motion components. These components act as their regular counterparts (like buttons or divs) but with an added superpower – the ability to be animated! By incorporating these motion components into your design, you can introduce smooth transitions, eye-catching animations, and truly interactive elements.
-
Preview and Refine: Just like with your core prototype, the preview mode remains your trusted companion. Use it to meticulously test your animations, ensuring they flow flawlessly and elevate the user experience of your design. Don’t hesitate to refine and adjust your animations until you achieve the perfect balance of form and function.
Framer Motion opens a treasure chest of animation possibilities. Imagine buttons that pulsate with life on hover, or menus that gracefully slide into view.
The potential is limitless, allowing you to craft user interfaces that are not only functional but also captivating.
6. Optimizing for Performance
It’s crucial to ensure they perform well. A laggy or slow prototype can leave a negative impression. Here are some best practices to keep your creation running smoothly:
-
Image Optimization is Key: Images can significantly impact loading times. Make sure to optimize your images using tools like TinyPNG or Photoshop to reduce their file size without sacrificing quality. Every kilobyte counts!
-
Animations: Use Wisely: Animations are a powerful tool, but like any good spice, moderation is key. Use animations strategically to enhance specific elements, and avoid overloading your prototype with complex animations that might cause sluggishness.
-
Cross-Device Compatibility: The world of devices is vast. Ensure your masterpiece looks and performs flawlessly across various screen sizes and resolutions. Test your prototype on desktops, tablets, and mobile phones to identify any potential issues and optimize accordingly.
By following these performance optimization tips, you can guarantee that your Framer prototypes deliver a seamless and engaging experience for everyone, regardless of their device.
7. Collaborating with Team Members
Framer isn’t just a solo design powerhouse – it’s a haven for collaborative creation! Here’s how Framer fosters seamless teamwork:
-
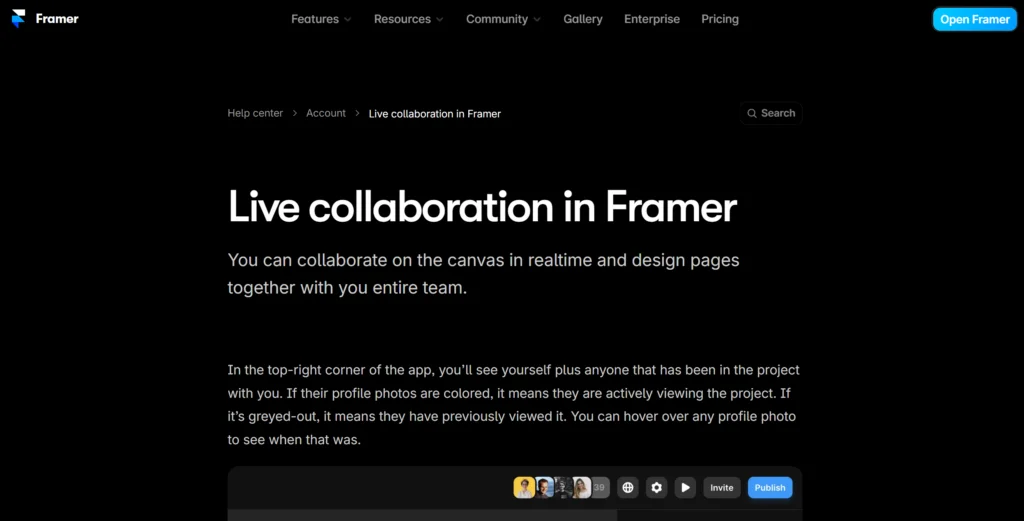
Real-Time Editing: The Power of Now: Imagine multiple designers working on the same project simultaneously, each adding their expertise in real-time. Framer makes this a reality! With real-time editing, everyone stays on the same page, ensuring the design evolves organically as a team effort.
-
Crystal Clear Communication: Annotations and Comments: Feedback is essential in any design process. Framer streamlines communication by allowing team members to leave comments and annotations directly on the design. This fosters clear and concise feedback exchange, ensuring everyone’s vision is heard and understood.
-
Time Travel for Designs: Version History is Your Friend: Worried about a misstep? No problem! Framer maintains a meticulous version history, allowing you to revisit past iterations of your design with ease. This safety net empowers teams to experiment freely, knowing they can always revert to a previous version if needed.
Framer’s collaborative features transform design from a solitary pursuit to a well-orchestrated team effort. By leveraging these tools, you can create exceptional user experiences, fueled by the collective creativity and expertise of your design team.
8. Publishing Your Prototype
Framer empowers you to seamlessly publish your prototype and get valuable feedback from stakeholders or showcase your design prowess to the world.
Framer’s Publishing Arsenal:
-
Share Link: Simplicity at its Finest: Framer offers a straightforward solution – a shareable link. Generate this link with a few clicks, and you’re ready to distribute it to anyone who needs to experience your prototype. This is perfect for gathering feedback from clients, colleagues, or even potential users.
-
Embed Code: Integration Made Easy: Want to showcase your prototype directly within a website or presentation? Framer provides embed code that allows you to seamlessly integrate your creation. This is a fantastic option for creating interactive presentations or adding a live prototype directly to your design portfolio website.
By leveraging Framer’s publishing features, you can effectively bridge the gap between your design vision and the real world. Share, gather feedback, and refine your prototype until it shines!
9. Managing Your Projects
Framer and create more prototypes, staying organized becomes paramount. Framer equips you with the tools you need to manage your projects effectively:
-
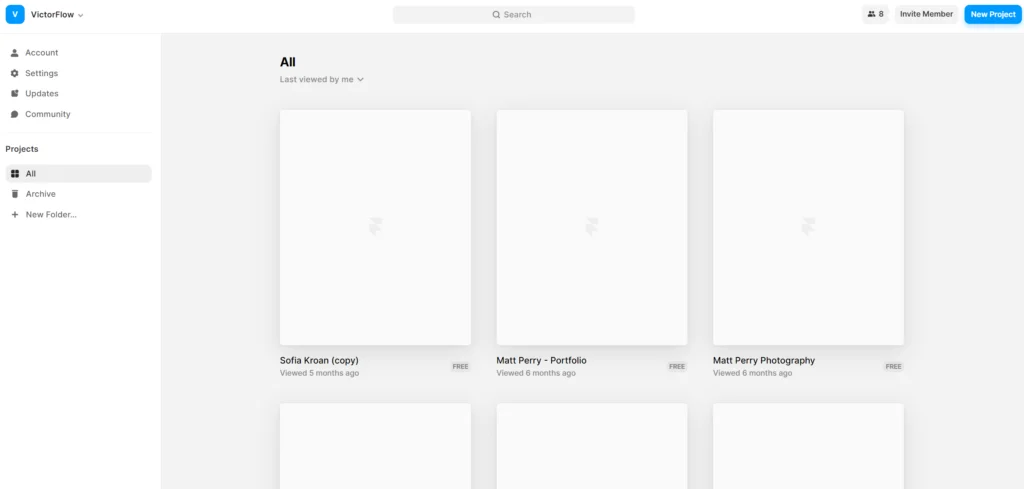
Project Dashboard: Your Design Command Center: Imagine a central hub for all your design projects. The project dashboard provides a clear and concise overview of everything you’ve created. Easily locate specific projects, track their progress, and prioritize your design workflow.
-
Project Settings: Customization is Key: Each project is unique, and Framer acknowledges that. Project settings allow you to tailor various aspects of your project, including its name, description, and most importantly, your team of collaborators. This ensures everyone has the information they need and keeps everyone on the same page.
By effectively utilizing Framer’s project management features, you can maintain a well-organized design environment, maximizing your productivity and ensuring a smooth design journey.
10. Getting Support
Even the most seasoned designers encounter challenges. The good news is that Framer has your back! Here are the resources available to ensure you get the support you need:
-
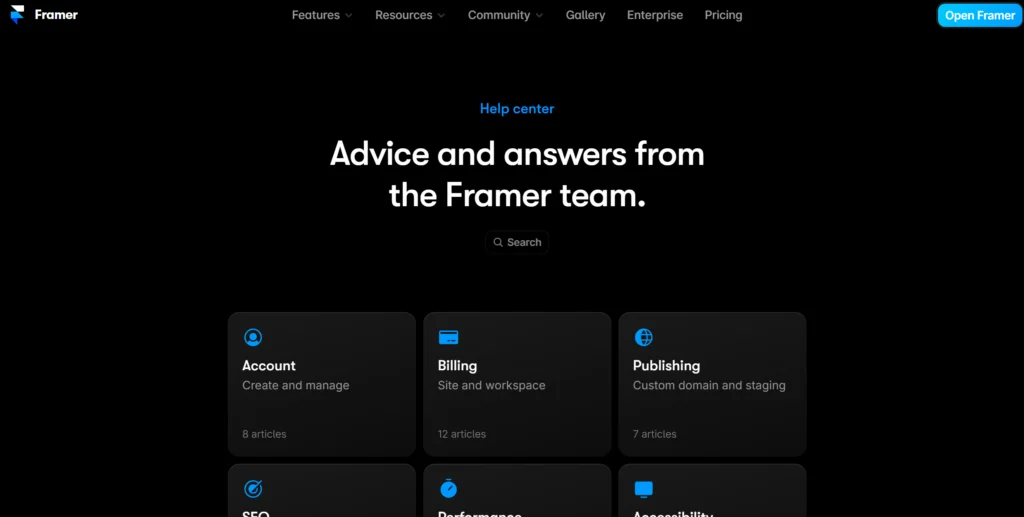
Help Center: Your Knowledge Base: Stuck on a specific feature or functionality? The Framer Help Center is your first stop. This comprehensive resource library offers a wealth of articles, tutorials, and FAQs designed to answer your questions and guide you through any hurdle.
-
Community Forums: The Power of Shared Knowledge: Sometimes, the best solutions come from your peers. The Framer community forums are a vibrant hub where you can connect with other designers, share your challenges, and learn from their experiences.
Don’t hesitate to post a question or browse through existing discussions – you might be surprised by the wealth of knowledge and support available within the Framer community.
Remember, the design journey is a continuous learning process. Framer’s support resources are there to empower you every step of the way.
So, explore, experiment, and create exceptional user experiences with confidence!
11. FAQs
Q: Can I use Framer for web design?
A: Yes, Framer is a versatile tool that can be used for web design, as well as mobile app design and prototyping.
Q: Does Framer require coding knowledge?
A: While coding knowledge is not required to use Framer, having a basic understanding of HTML, CSS, and JavaScript can be beneficial for creating more complex interactions and animations.
Q: Can I export my Framer project to other design tools?
A: Yes, Framer allows you to export your project to other design tools, such as Sketch or Adobe XD, if you need to collaborate with team members who use different tools.
Q: Is Framer suitable for beginners?
A: Framer can be used by beginners, but it may have a steeper learning curve compared to other design tools. However, Framer’s intuitive interface and comprehensive documentation make it accessible to users of all skill levels.


