In the ever-evolving landscape of web design, having a versatile and innovative platform is paramount. Webflow has emerged as a frontrunner in the industry, providing users with a comprehensive toolkit to craft visually stunning and highly functional websites without the need for coding.
As we embark on 2024, mastering Webflow is more crucial than ever to creating impactful online experiences.
This Ultimate Guide serves as your gateway to unlocking the full potential of Webflow’s web design platform. Whether you’re a novice aiming to launch your first website or a seasoned designer seeking to optimize your workflow, this guide covers everything you need to know to create a professional website with Webflow in 2024.
Webflow Builder Ultimate Guide in 2024 (Table of Contents)
- Introduction to Webflow
- Getting Started with Webflow
- Choosing the Right Plan
- Selecting a Template
- Customizing Your Design
- Adding Interactivity with Webflow Interactions
- Optimizing for SEO
- Responsive Design and Mobile Optimization
- Publishing Your Site
- Managing Your Site
- Getting Support
- FAQs
1. Introduction to Webflow
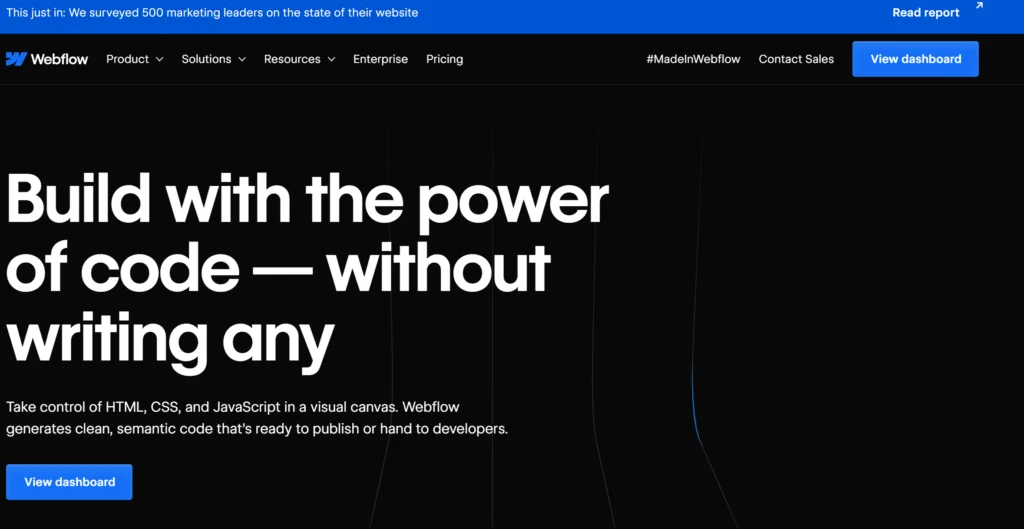
Webflow is a web design platform that empowers users to create responsive websites visually. Here’s an overview of its key features:
Visual Design Interface: Webflow’s intuitive visual interface allows users to design websites visually, making it easy to create complex layouts and animations without code.
Customizable Templates: Webflow offers a range of professionally designed templates that can be customized to match your brand and style.
Advanced Interactions: With Webflow’s interactions feature, you can create custom animations and interactions to enhance the user experience of your website.
2. Getting Started with Webflow
To start building your website with Webflow, follow these steps:
Sign Up for an Account: Visit the Webflow website and sign up for an account. You’ll need to choose a plan that best suits your needs.
Choose a Plan: Webflow offers several plans, including a free plan with limited features and paid plans with more advanced features. Choose a plan that fits your budget and website requirements.
3. Selecting a Template
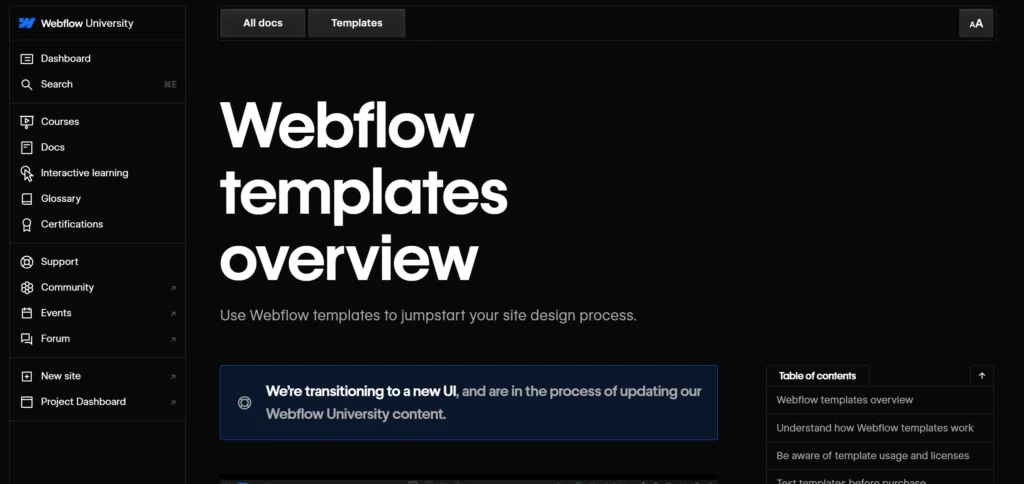
Webflow offers a variety of templates to choose from, depending on your website’s purpose and design preferences. Here’s how to select a template:
Browse Templates: Webflow provides a gallery of templates, categorized by industry and style. Browse through the templates and select one that matches your website’s theme.
Preview Templates: Before selecting a template, you can preview how it will look on your website. This allows you to see if the template aligns with your vision for your website.
4. Customizing Your Design
Once you’ve selected a template, you can customize it to fit your brand and style. Webflow’s visual editor offers a range of customization options, including:
Changing Colors and Fonts: Customize the colors and fonts of your website to match your brand identity.
Adding Content: Add text, images, and videos to your website to create engaging content.
Adjusting Layout: Arrange the elements on your website’s pages to create a layout that suits your content.
5. Adding Interactivity with Webflow Interactions
Webflow’s interactions feature allows you to create custom animations and interactions to enhance the user experience of your website. Here are some ways you can use interactions in Webflow:
Creating Hover Effects: Add hover effects to buttons and images to make them more interactive.
Building Scroll Animations: Create animations that trigger as users scroll down the page, adding visual interest to your website.
6. Optimizing for SEO
SEO is crucial for ensuring your website ranks well in search engine results. Webflow provides tools to help you optimize your website for SEO, including:
Customizable Meta Tags: Edit meta tags for each page of your website to improve its visibility in search engine results.
Keyword Optimization: Use relevant keywords in your content to attract organic traffic to your website.
7. Responsive Design and Mobile Optimization
With an increasing number of users accessing websites on mobile devices, it’s essential to optimize your website for mobile. Webflow offers responsive design features that allow you to create websites that look great on any device.
8. Publishing Your Site
Once you’ve customized your website to your liking, you can publish it to make it live on the internet. Webflow makes it easy to publish your website with just a few clicks.
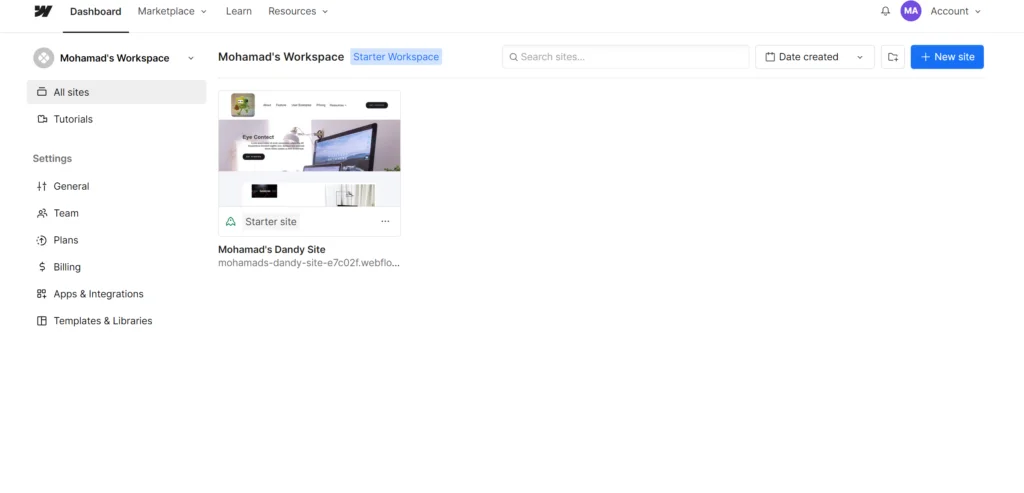
9. Managing Your Site
After publishing your website, you can manage it from your Webflow account’s dashboard. Webflow provides tools for managing your website’s content, monitoring its performance, and making updates as needed.
10. Getting Support
If you encounter any issues while building or managing your website, Webflow offers support through its help center and customer support team. You can also find answers to common questions in Webflow’s knowledge base.
11. FAQs
Q: Can I use my own domain name with Webflow?
A: Yes, you can use your domain name with Webflow. You can either register a new domain name through Webflow or use an existing domain name that you own.
Q: Can I sell products on my Webflow website?
A: Yes, Webflow offers e-commerce features that allow you to sell products on your website. You can add product listings, manage inventory, and process payments through your Webflow account.
Q: Is Webflow suitable for beginners?
A: Yes, Webflow’s visual editor makes it easy for beginners to create websites without code. The platform also offers tutorials and support to help beginners get started.
Q: Can I customize the design of my Webflow website?
A: Yes, Webflow’s visual editor allows you to customize every aspect of your website’s design. You can change colors, fonts, layouts, and more to create a unique look for your website.